If you want your Overleaf LaTeX project to build automatically into a polished, interactive website and also integrate Python scripts and visualizations developed in VS Code, combining Jupyter Book with GitHub Pages provides a seamless way to turn your work into a continuously updated, professionally hosted site.
This guide walks you through connecting an Overleaf LaTeX project to GitHub and transforming it into a Jupyter Book–style site using MyST. It explains how to initialize the project, set up GitHub Pages deployment, and manage updates directly from Overleaf.
Prerequisites:
A GitHub account
An Overleaf account
An existing Overleaf project
Git or Github Desktop installed
VS code installed
Node.js available
Setting up
The steps below guide you through configuring your local environment, linking Overleaf to GitHub, and preparing the repository so it can be built and published with MyST and GitHub Pages. We will walk through the process in three parts: Overleaf, your local machine, and GitHub.
Overleaf
Open your Overleaf project.
Go to Menu > Integrations > GitHub.
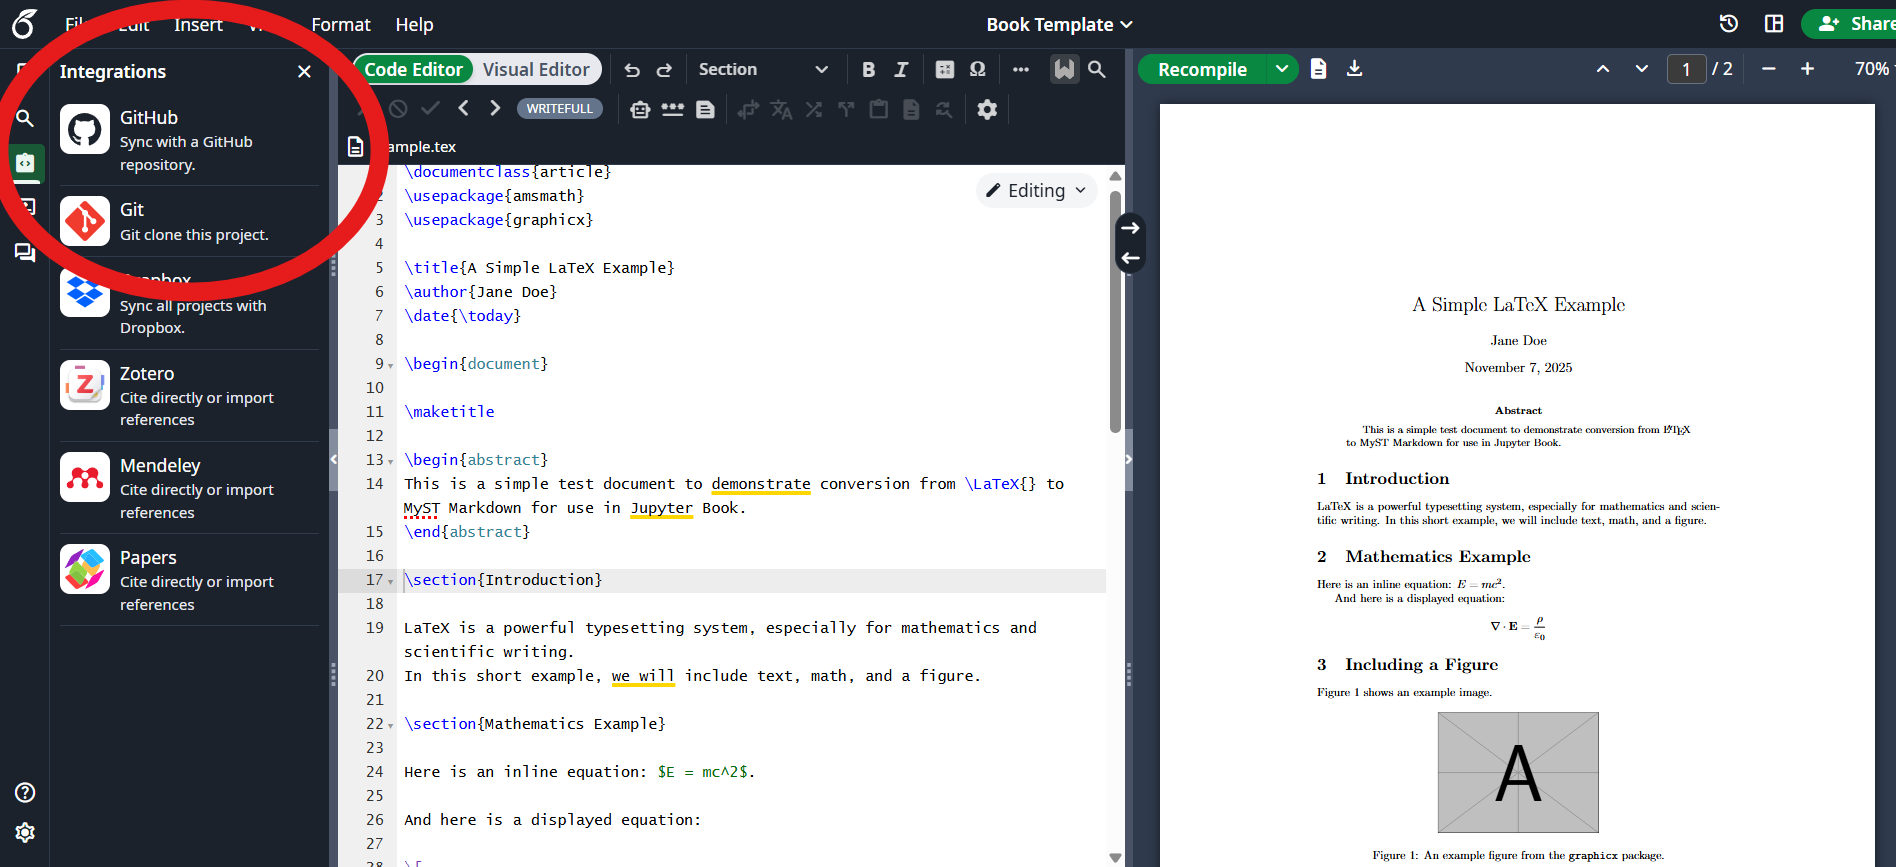
Select
Create GitHub Repository. Overleaf will generate a new repository and link your project to it.
You now have a GitHub repo containing your LaTeX files, ready to clone to your local machine.
Local machine
Open GitHub Desktop or use Git to clone the newly created repository to your computer.
If using GitHub Desktop, go to Clone repository > your repositories > {name of new repository}.
Open the cloned folder in Visual Studio Code.
Open the integrated terminal.
Install Jupyter Book
pip install "jupyter-book>=2.0.0a0"Run the
initcommand to ininitialise amystproject in the current directory. Do not run thestartcommand (Jupyter Book will ask).
jupyter book initRun the
initcommand with the--gh-pagesflag to setup a GitHub Action
jupyter book init --gh-pagesCommit and push all generated files to GitHub using Git or GitHub desktop.
This completes the one-time setup on your local machines, and future updates from Overleaf or your local machine will now trigger automatic site builds on GitHub Pages.
GitHub
The last step in the setup process is to give GitHub Actions permission to publish your site to GitHub Pages. In your repository settings, go to Settings > Pages, set the Source to “GitHub Actions,” and save. Once enabled, every time you push to the repository, the action created earlier will automatically build and publish your Jupyter Book to the live site.
Usage
Changes using Overleaf
After making changes to your project in Overleaf, push the changes to GitHub by going to Integrations > GitHub > Push Overleaf changes to GitHub > sync. The gh-action will now rebuild your book, and update the website accordingly.
Changes using VS code
After making changes to your project in VS code, push the changes to GitHub by opening GitHub desktop, commit the files, and push to origin. Again, the gh-action will now rebuild your book, and update the website accordingly.
Additional reading
Jupyter Book Documentation
A guide to creating structured, book-style documentation using Markdown and MyST. Covers project initialization, configuration, file organization, and local builds.GitHub Pages
GitHub’s built-in hosting service that publishes static websites directly from your repository.GitHub Actions
A workflow automation system that runs tasks, like building your Jupyter Book—whenever you push to the repository.Github Desktop
Overleaf Integrations
Overleaf’s built-in tools for linking your LaTeX projects to other services.